RibbonTree
Although I love real Christmas trees I realized this year we really just do not have the room for one. Last year we got a mini tree that was kind of fun but we were not even going to be here for Christmas this year. So I made a table top ribbon tree instead. I can use it year after year and it is not too big so it can be stored away until the following year after Christmas.
To make your own ribbon tree you will need:
Cardboard or cone shaped base
Ribbon
Hot glue and glue gun
Scissors
 If you have a cone base already you can start gluing your ribbon to the base. If not you will need to make one with your cardboard. Figure out how tall you would like your tree to be. With a straight edge measure the height from one point to the next. Then with a compass or string draw an arch about 45 degrees. Cut out then glue or tape edges together.
Once you are ready for adding ribbon, cut your pieces about 3 inches long. I used wider ribbon toward the bottom, similar how a real tree has larger branches at the bottom. Work your way around your cone base. I folded the ribbon in half, glues the ends together then glues the ends onto the base.
Continue this all the way around then move up to the next row. Try to space the ribbon pieces in between the ones on the row below to overlap any ends. Continue this proses until you reach the top.Once at the top you can put a star or what ever kind of topper you would like. I just added some ribbon loops upward then wrapped a single piece around where the ends were glued to cover the seam.

 If you have a cone base already you can start gluing your ribbon to the base. If not you will need to make one with your cardboard. Figure out how tall you would like your tree to be. With a straight edge measure the height from one point to the next. Then with a compass or string draw an arch about 45 degrees. Cut out then glue or tape edges together.
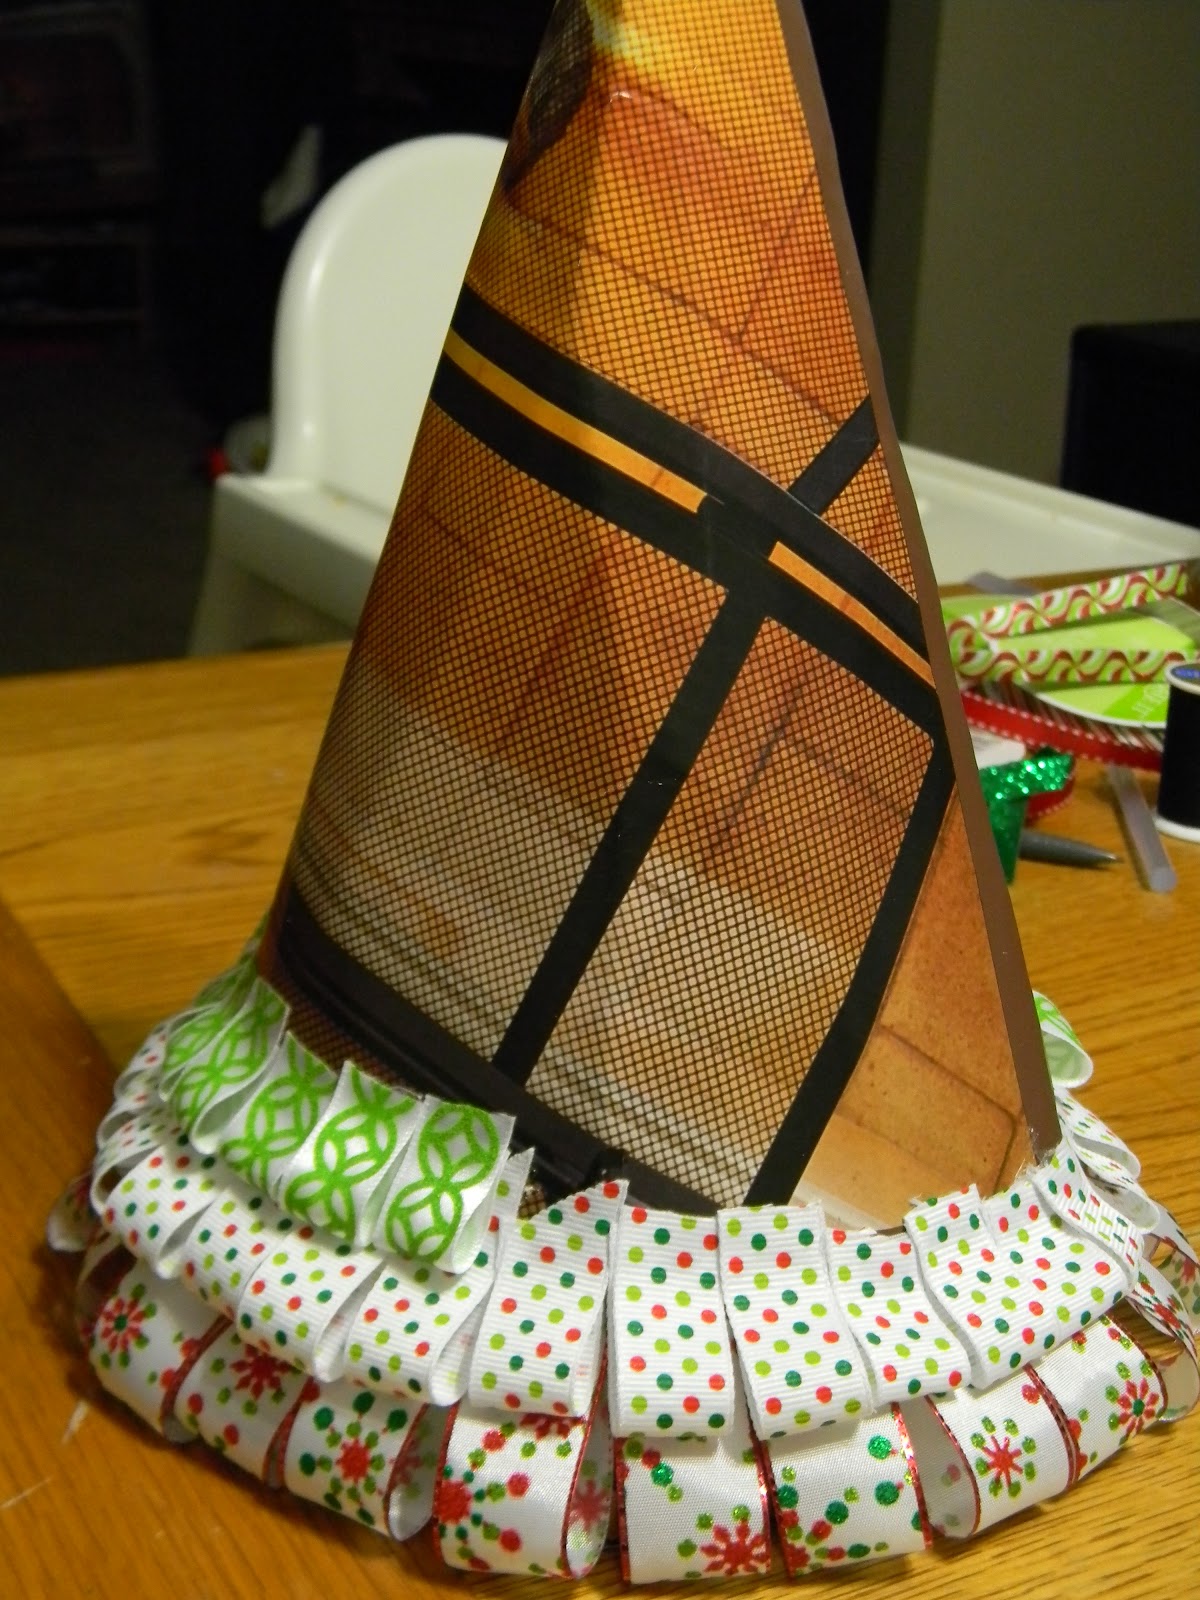
No comments:
Post a Comment